I’ve Made the Mistakes: As home baker, and food blogger, I’ve made THOUSANDS of mistakes in the kitchen and here’s what I’ve learned along the way.
1. Always Have the Correct Butter Consistency
Butter is the starting point for an immense amount of baked goods, so it’s important to have it prepped as the recipe suggests. The temperature of butter can dramatically affect the texture of baked goods. There are three different consistencies of butter that baking recipes typically call for: softened, chilled (or frozen like in scones), and melted.
- Most recipes calling for butter call for room temperature/softened butter. Room temperature butter is actually cool to touch, not warm. When you press it, your finger will make an indent. Your finger won’t sink down into the butter, nor will your finger slide all around. To get that perfect consistency and temperature, leave butter out on the counter for around 1 hour prior to beginning your recipe. If you need to heat it fast, heat 1 cup of water in the microwave, take it out, then put in the butter DO NOT MICROWAVE THE BUTTER just let it absorb the steams heat
- Chilled butter is butter that has been well chilled in the refrigerator or freezer so that it does not melt during mixing. This helps create flaky pockets in recipes like pie crust, scones, and biscuits.
- Unless otherwise noted, melted butter should be liquified and lukewarm. If melted butter is too hot, it can cook the eggs in your batter. I prefer to use melted butter in brownies and my chewy chocolate chip cookies. Before adding the egg combine butter and sugar then cool, make sure to NOT cool the butter then add sugar!
2. Room Temperature is KEY
Speaking of temperature, if a recipe calls for room temperature eggs or any dairy ingredients such as milk or yogurt, make sure you follow suit. Recipes don’t just do that for fun– room temperature ingredients emulsify much easier into batter, which creates a uniform texture throughout your baked good. Think of cold, hard butter. It’s impossible to cream cold butter into a soft consistency necessary for some recipes it will just be chunky butter with sugar . Same goes for eggs– they add much more volume to the batter when they’re at room temperature, if they are not the batter may not be as much as it supposed to.
So yes, temperature is imperative. There’s science involved!
3. Read the Recipe Before Beginning
I feel silly saying this, but I can’t tell you how many times I’ve had a complete recipe disaster because I didn’t realize a certain step was coming up. Reading ahead will help you know the how, why, where, and when of what you are about to do. It will take you 1-5 minutes and could save you from wasting your ingredients on a failed recipe.
4. Always Have Ingredients Prepped
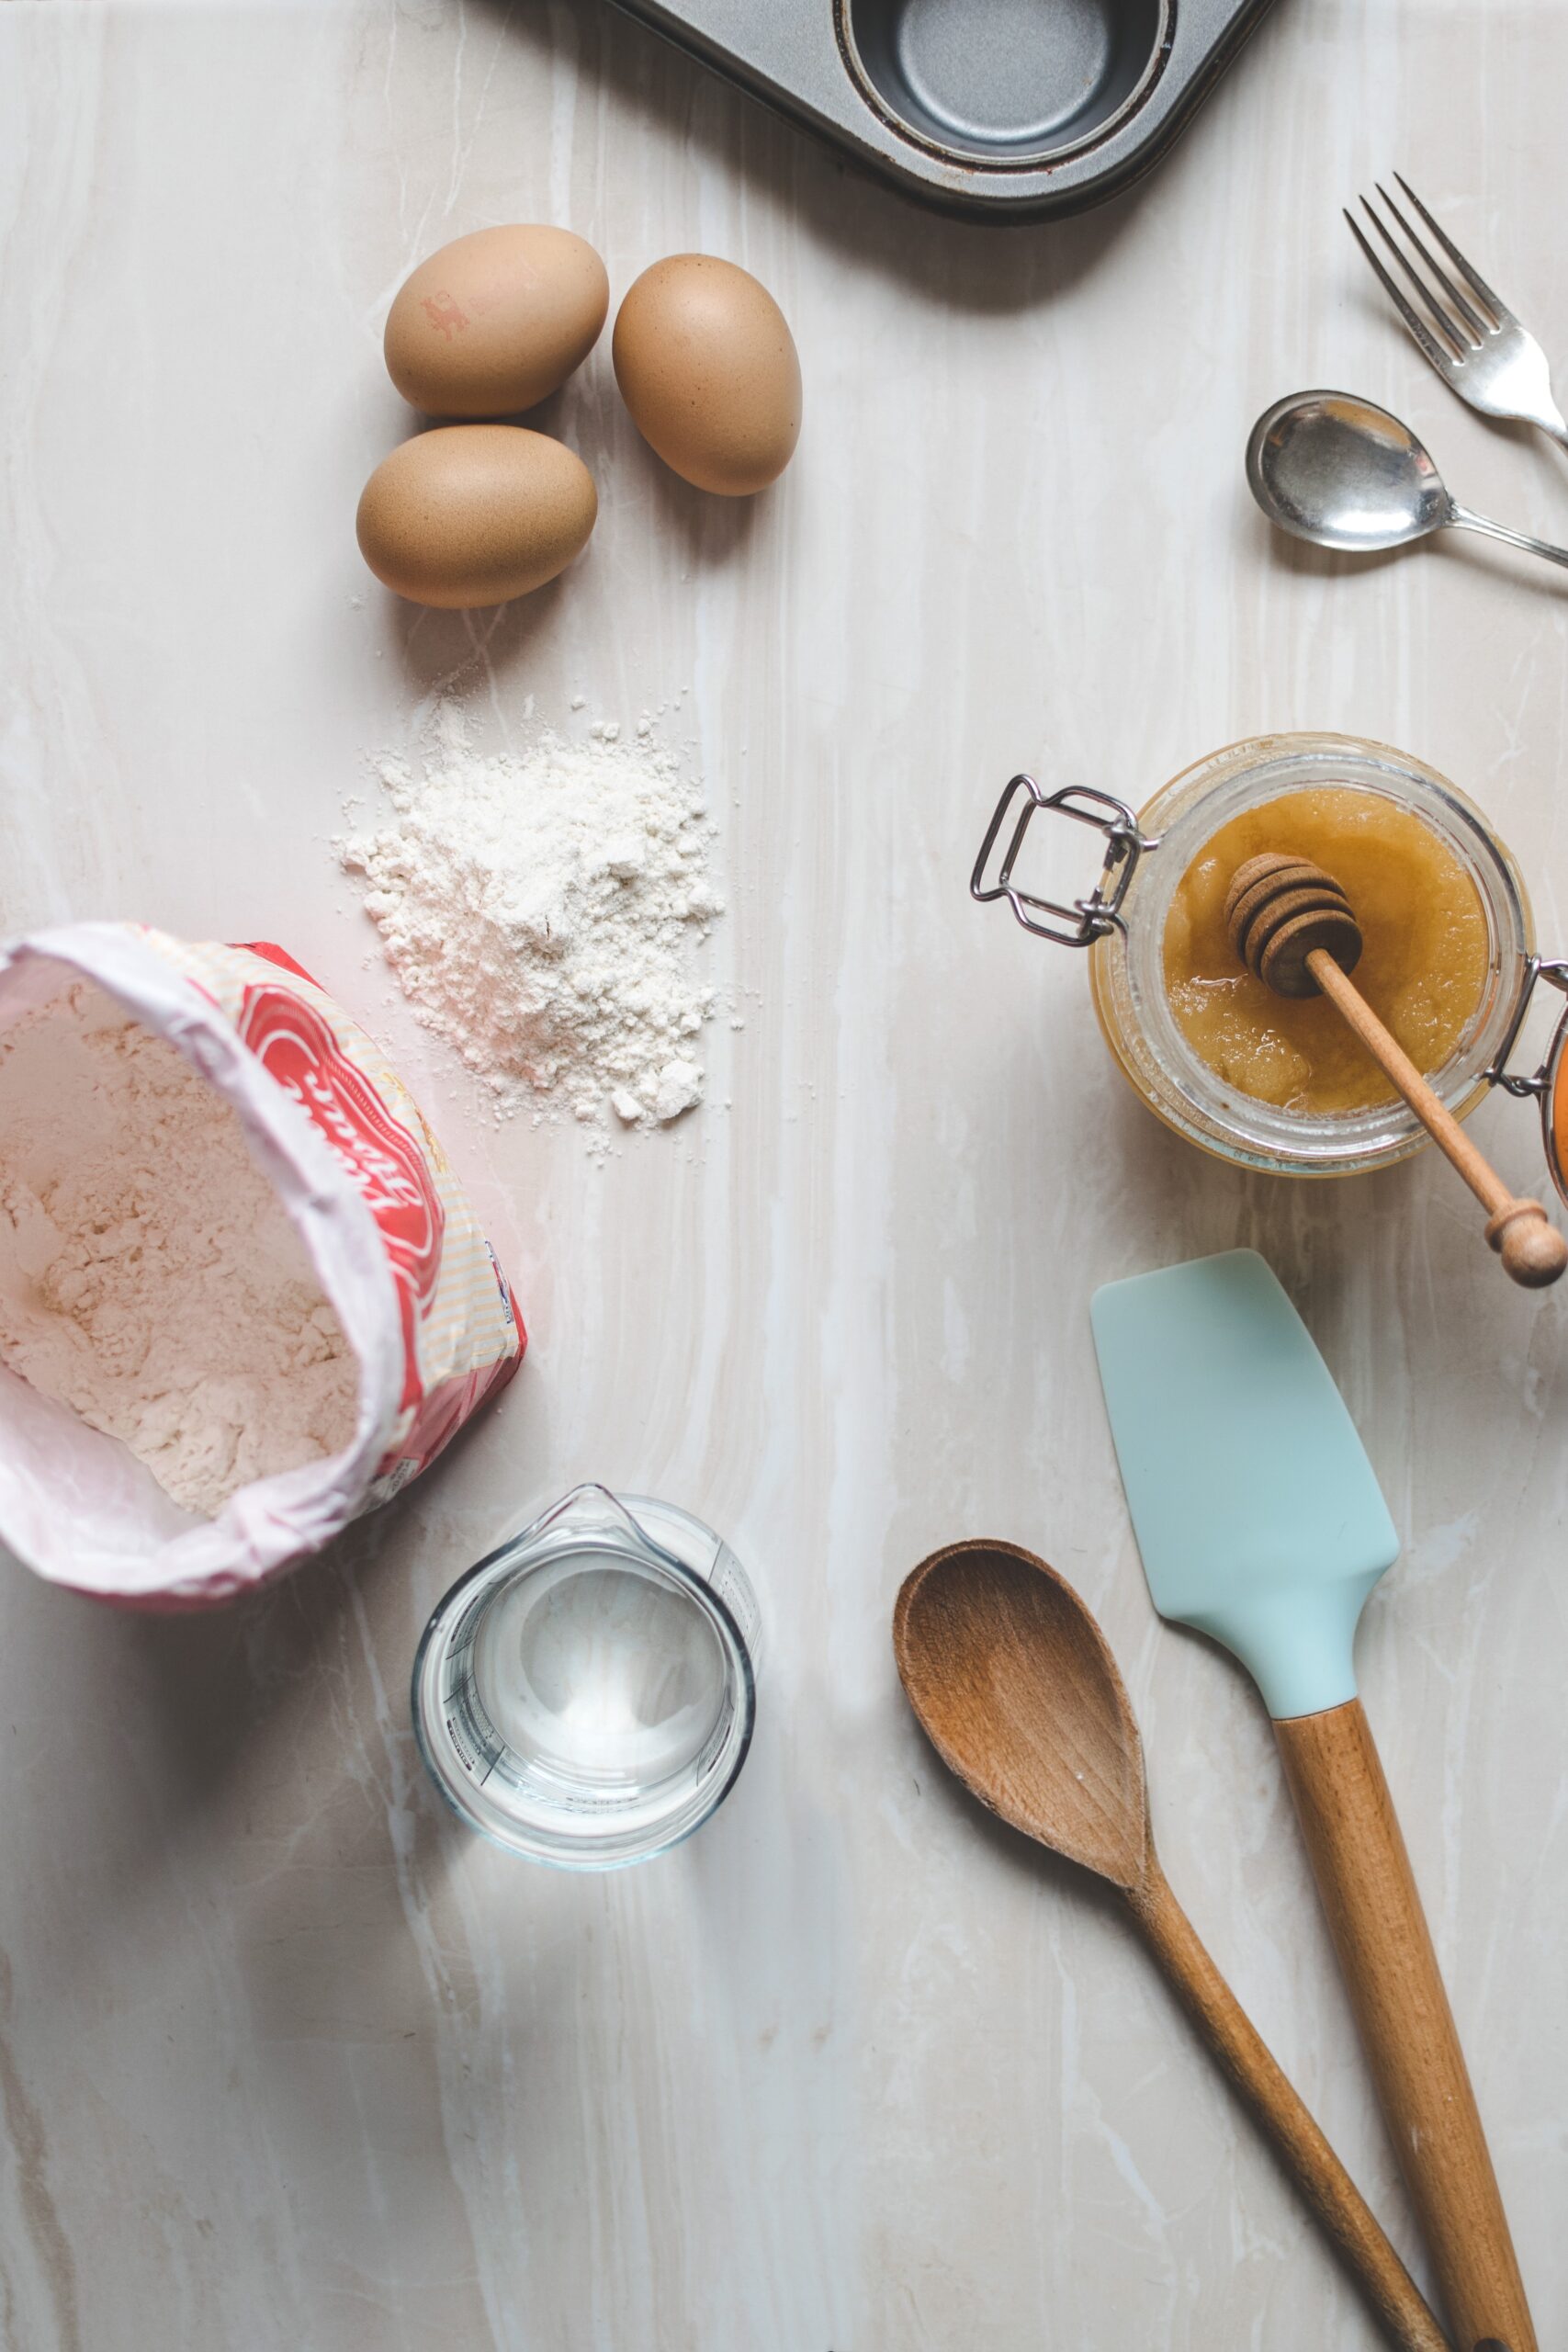
Measure your ingredients before starting a recipe. Read through the ingredients, then get them prepared on your counter. There’s very little room for error when you begin recipes this way; you’re not scrambling and rushing during the recipe process.
And avoid making ingredient substitutions. Remember, baking is chemistry. Make the recipe as written first then if you feel confident, make substitutions as you see fit.
5. Learn How to Measure
This is actually one of the most important baking tips on this page. As you know, baking is science. Excellent baking requires precise ratios, proven techniques, and well-tested recipes. Unlike cooking, you can’t just bake something by throwing some ingredients together, mess it up, then eat it anyway. (Well, most of the time you can’t!)
One of the most crucial baking tips is measuring ingredients properly.
- Problems are common if measurements are incorrect. Having a firm grasp of measuring techniques is essential.
- Measure dry ingredients in measuring cups or spoons because these are specially designed for dry ingredients. Spoon and level (aka “spoon and sweep”) your dry ingredients. This means that you should use a spoon to fill the cup and level it off. This is especially important with flour. Scooping flour (or any dry ingredient) packs that ingredient down and you could be left with up to 150% more than what’s actually needed. A recipe calling for 1 cup of flour and baked with 2 or more cups instead will surely result in a fail. And a rather dry baked good!
- And for liquid ingredients, use clear liquid measuring cups.
6. Weigh Your Ingredients
A small kitchen scale is priceless! It is, by far, the most used tool in my kitchen. A gram or ounce is always a gram or an ounce, but a cup isn’t always a cup. This is why I offer gram measurements with my recipes. Again, precision is everything.
7. Get an Oven Thermometer
I use my ovens so much that the temperatures are sometimes off. Yes, the actual oven temperature can be much higher or lower than what the controller says. No ovens are safe from this!
Use an oven thermometer. Place it in the center of your oven. Some hang from the racks or can be placed directly on the bottom of the oven. While inexpensive, they’re irreplaceable in a baker’s kitchen. Place it in your oven so you always know the actual temperature.
- Unless you have a brand new or regularly calibrated oven, your oven’s temperature is likely inaccurate. When you set your oven to 350°F, it might not really be 350°F inside. It could only be off by a little – 10 degrees – or more – 100 degrees! Do you know what that will do to your cookies, cinnamon rolls, and cakes? While this might not seem like a big deal to you, it is a LOADED problem for baked goods.
- An inaccurate oven can ruin your baked goods, the hours spent on the recipe, the money spent on ingredients, and leave you hungry for dessert.
- If you use a convection oven, reduce the oven temperature by 25°F. Best to reduce the baking time as well. Your eyes are the best tools for determining when a baked good is done.
8. Keep Your Oven Door Closed
You now know how the oven’s temperature can ruin a recipe. But what can completely throw off the oven temperature is constantly opening and closing the oven door to peek inside. I know you’re excited about what’s baking! It’s so tempting to keep the oven ajar to see your cake rising, cookies baking, and cupcakes puffing up. I really want to do that too But doing so can let cool air in, which interrupts the baked good from cooking and/or rising properly.
- Rely on the light feature in your oven if it has one.
- If you need to test your cakes for doneness with a toothpick, do so quickly. Remove it from the oven, close the oven immediately, test for doneness, then put it back in as quickly as you can if more oven time is required.
- If your oven door is broken find a DIY way to fix it 🙂
9. Chill Your Cookie Dough
Chilling cookie dough in the refrigerator firms it up, decreasing the possibility of over-spreading. Chilling cookie dough not only ensures a thicker, more solid cookie but an enhanced flavor as well. Not only this, cold cookie dough is much easier to handle and shape. In soft chocolate chip cookies, for example, it helps develops a heightened buttery, caramel-y flavor. After chilling, let your cookie dough sit at room temperature for about 10 minutes (or more, depending how long the dough has chilled) before rolling into balls and baking. Sometimes after refrigeration, cookie dough can be too hard to roll/handle.
- If a recipe calls for chilling the cookie dough, don’t skip that step.
- If a recipe yields super sticky cookie dough, chill it before rolling and baking.
This tip is so important
here are some no chill cookies:
10. Here is my Cookie Trick
Last baking tip and it’s all about cookies. To keep leftover cookies extra soft, store them with a piece of bread. Have you heard of this before? If storing cookies in a container or cookie jar, stick a regular piece of bread in there as well. The cookies will absorb all of the bread’s moisture, leaving the bread hard and the cookies extra soft. And they’ll stay soft FOR DAYS! even weeks and months!! (no not really, don’t do that, store them for a max of 7 days)

Leave a comment here if you know any other tricks 🙂